Configurer les virtual host
Après avoir configuré un serveur ubuntu avec amazon EC2, on va maintenant voir comment le configurer.
Il faut d’abord créer l’arboresscence nécessaire pour notre site
mkdir ~/ubuntu/public\_html
mkdir ~/ubuntu/public\_html/domain.com
mkdir ~/ubuntu/public\_html/domain.com/www
mkdir ~/ubuntu/public\_html/domain.com/log
chmod -R 755 ~/ubuntu/public\_html/domain.com
Il faut ensuite modifier la config d’apache pour qu’il sache ou se trouve notre dossier domain.com, par défaut les sites accesible par apache sont dans /var/www , ici on préfère mettre domain.com dans le repertoire utilisateur (/home/users/ubuntu) afin de pouvoir y accéder facilement avec un client ftp. Pour se connecter en SFTP tout est expliqué dans cet article.
On va créer un nouveau fichier dans sites-available nano /etc/apache2/sites-available/domain.com
Et y coller ceci, en remplacant bien sur domain.com par votre nom de domaine :
# Place any notes or comments you have here
# It will make any customisation easier to understand in the weeks to come
# domain: domain.com
# public: /home/ubuntu/public\_html/domain.com/www

<VirtualHost *:80>
# Admin email, Server Name (domain name) and any aliases
ServerAdmin webmaster@domain.com
ServerName domain.com
ServerAlias www.domain.com

# Index file and Document Root (where the public files are located)
DirectoryIndex index.html
DocumentRoot /home/ubuntu/public\_html/domain.com/www

# Custom log file locations
LogLevel warn
ErrorLog /home/ubuntu/public\_html/domain.com/log/error.log
CustomLog /home/ubuntu/public\_html/domain.com/log/access.log combined
</VirtualHost>
Il faut maintenant activer le site avec la commande suivante sudo a2ensite domain.com
Puis on rafraichit la configuration d’apache sudo service apache2 reload
Créer une elastic IP
On se rend sur la console AWS. Si vous n'avez pas encore créé d'instance EC2, voir cet article.
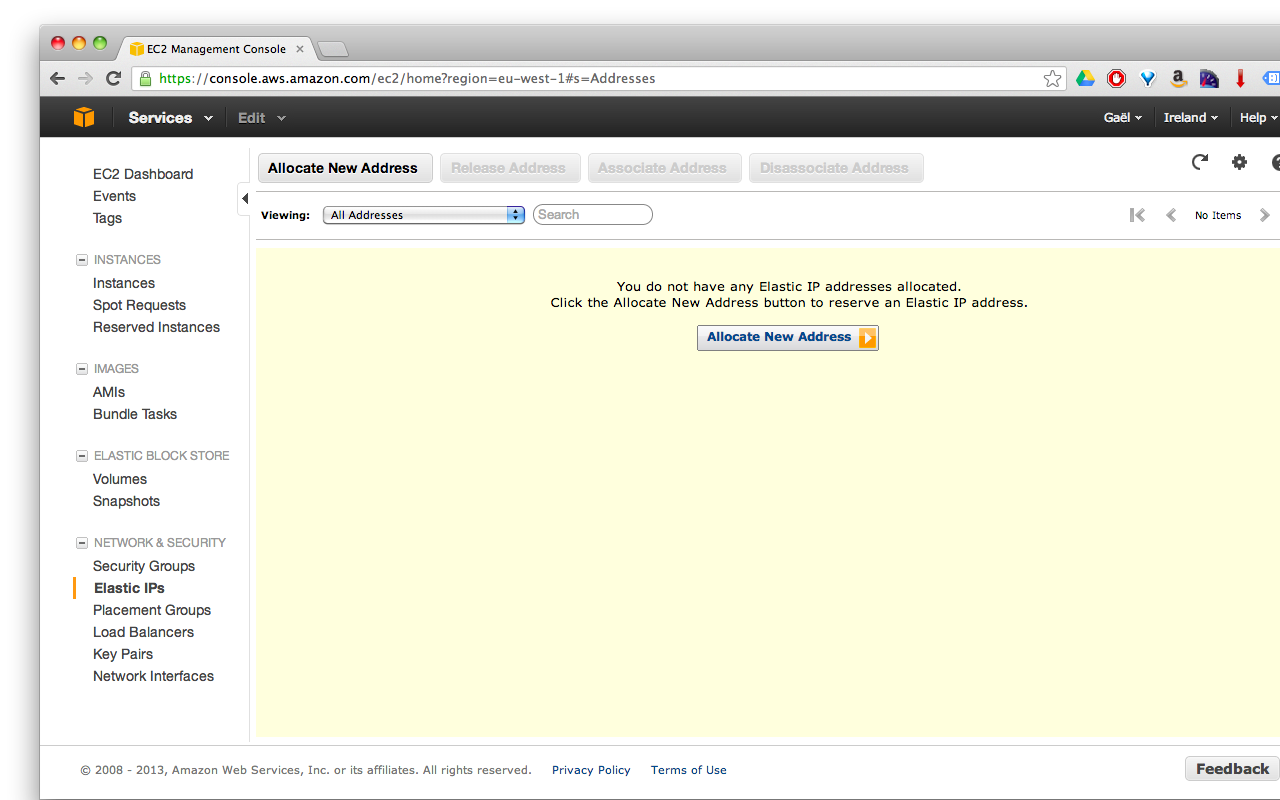 et dans elastic ip, “allocate new adress”
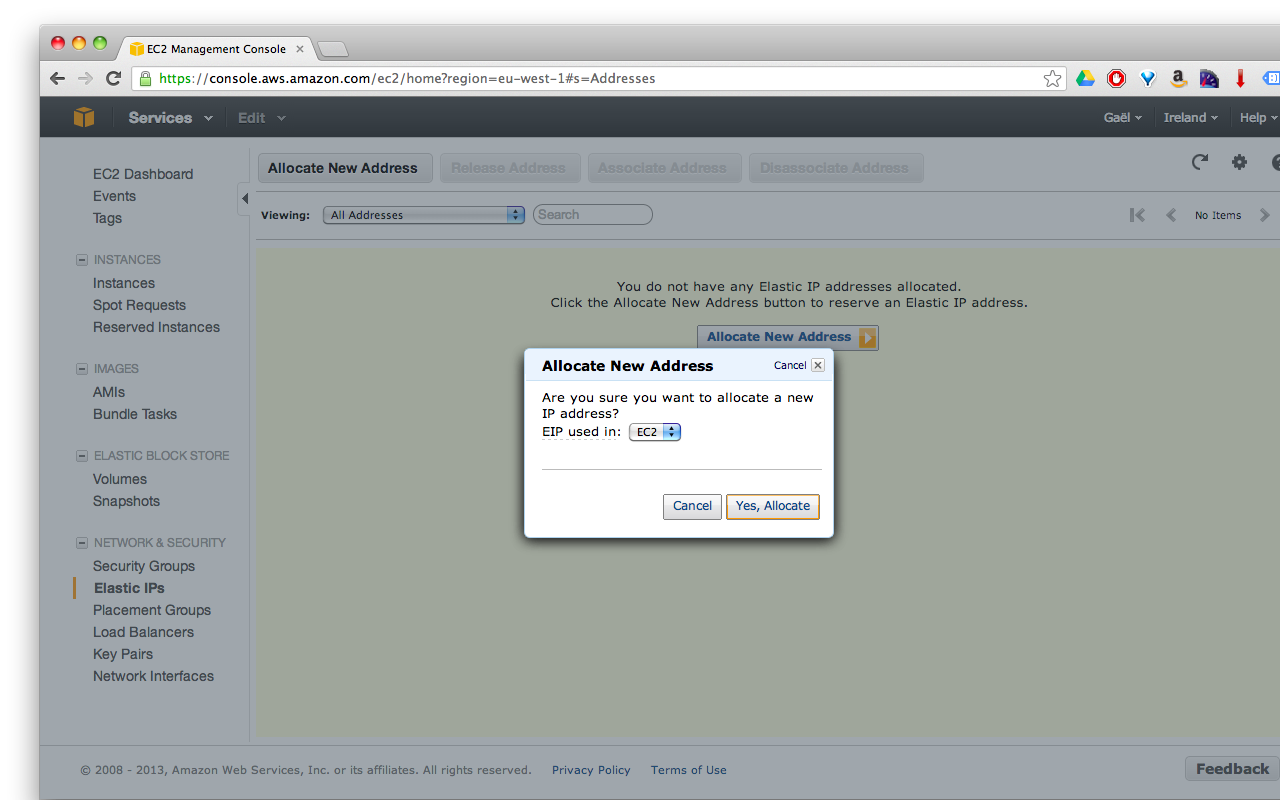
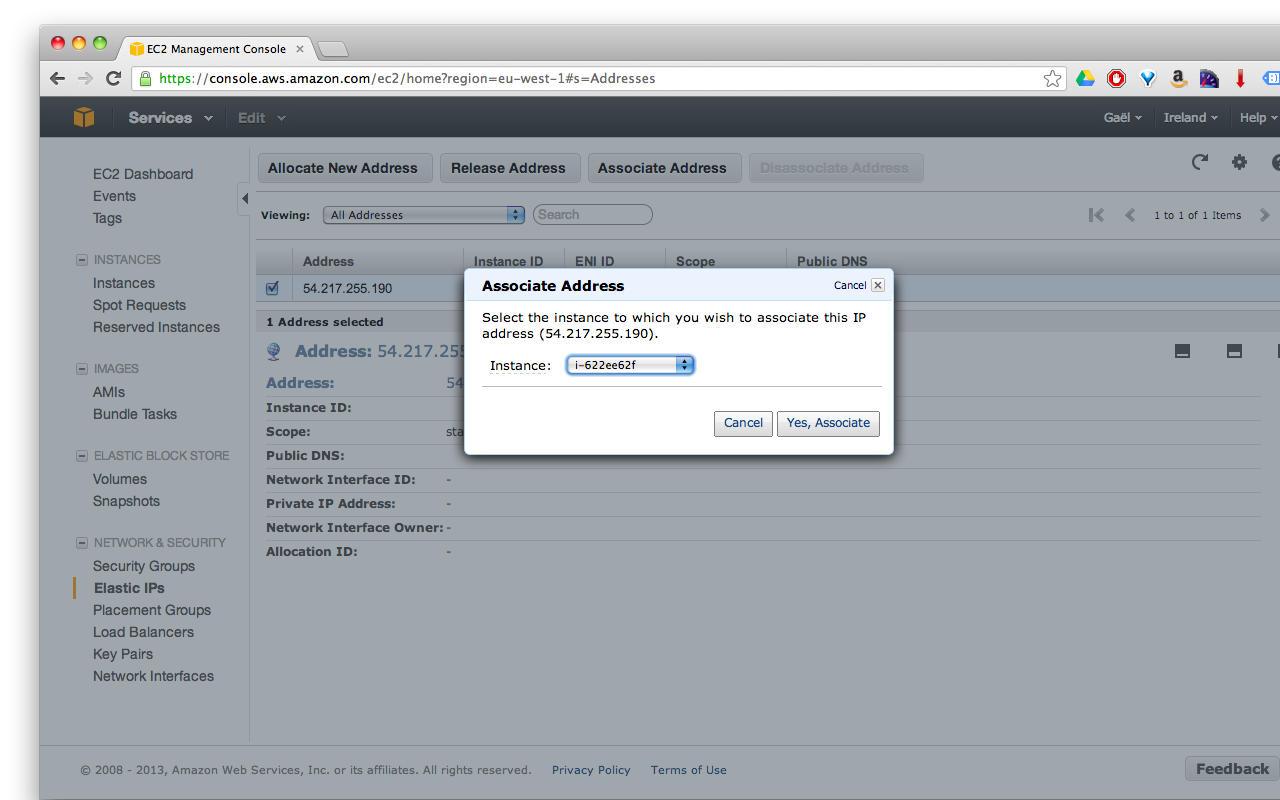
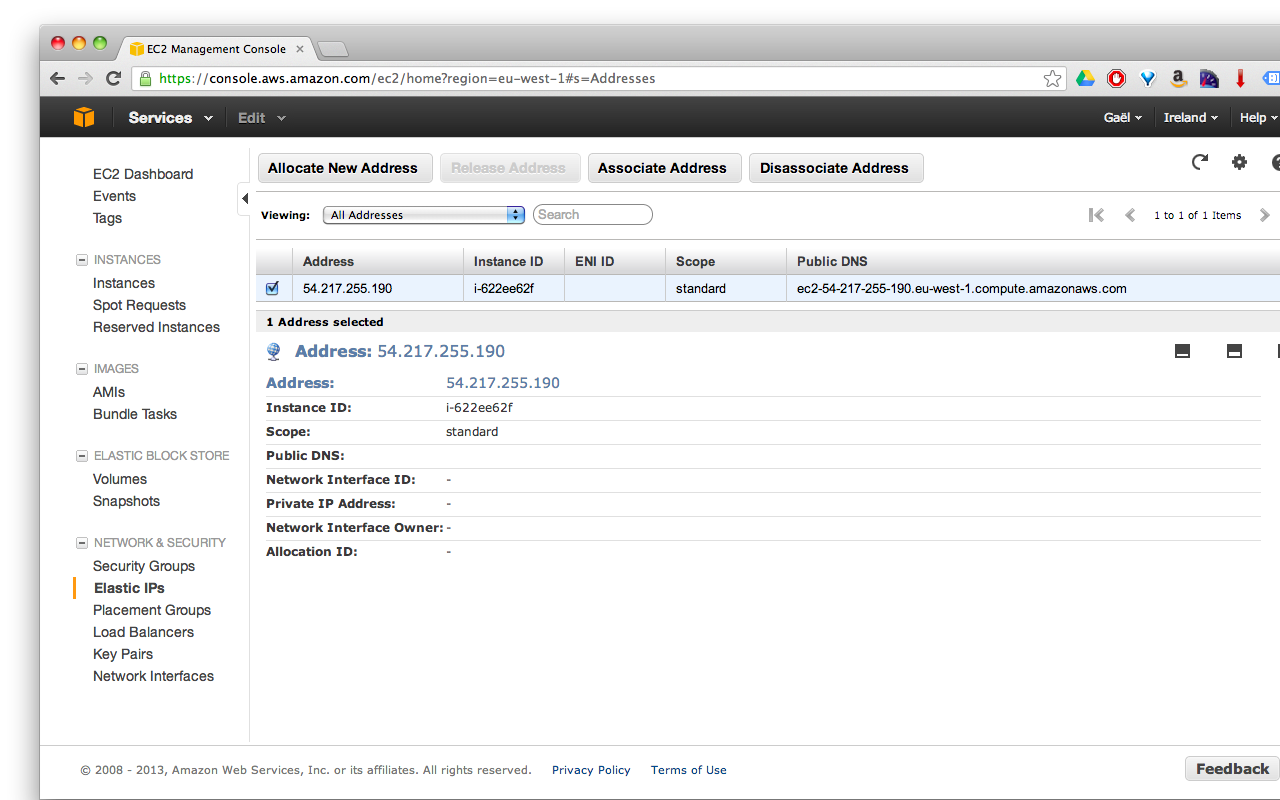
On choisi ec2 et on associe ensuite l’ip avec l’instance crée dans ce post
Editer la zone DNS
Il faut ensuite mofifier la zone DNS chez son registrar. Chez OVH c’est par ici. Puis dans "Domaines & DNS" puis "Zone DNS". On va changer les champs de type A et remplacer leurs ip par l’elastic ip que l’on viens de créer chez amazon.
C'est fini ! domain.com devrait maintenant pointer vers notre nouveau serveur.